




320 × 640 mm LED Display Cabinet: From Indoor Space to Screen Specification
By hqt
Oct 22, 2026Related Posts
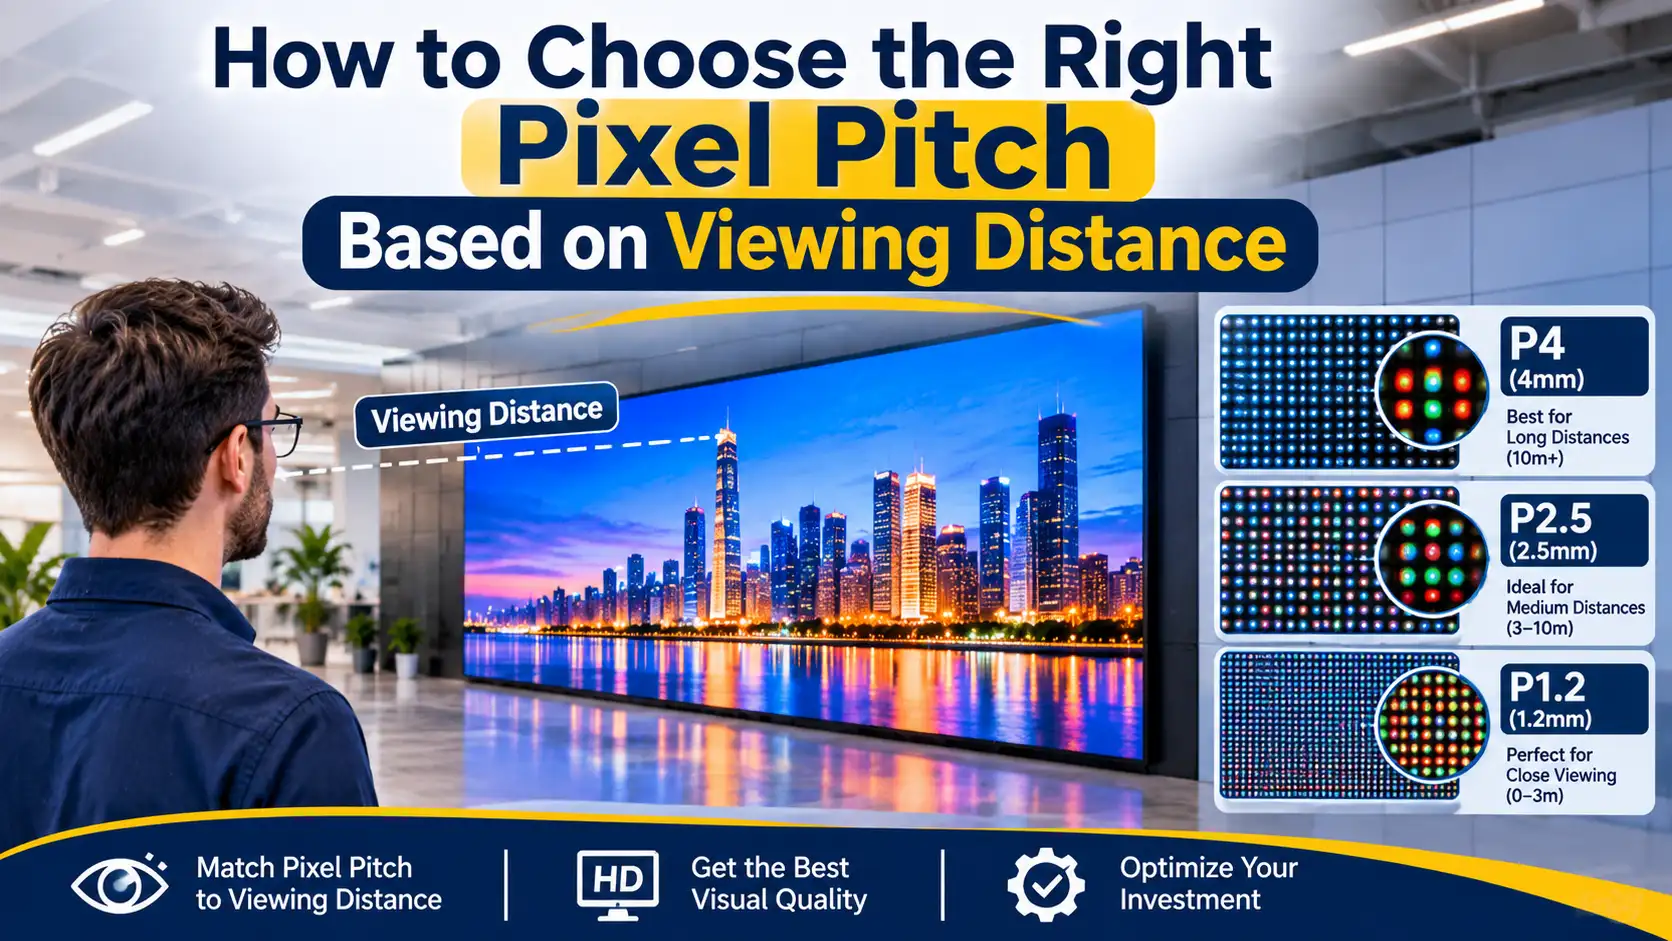
How to Choose the Right Pixel Pitch Based on Viewing Distance
November 14, 2026
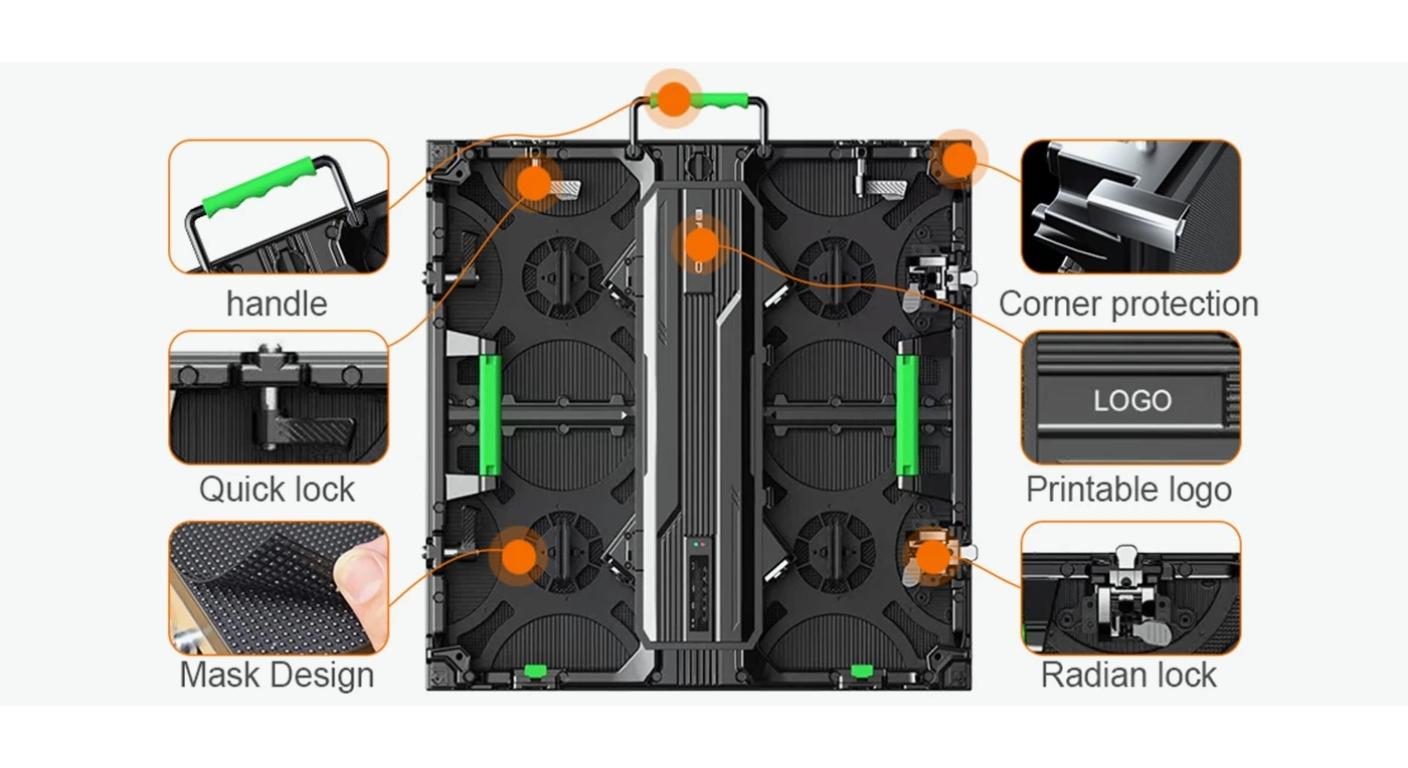
Corner Protection Rental LED Panel: Damage Prevention and Maintenance Guide
October 30, 2026
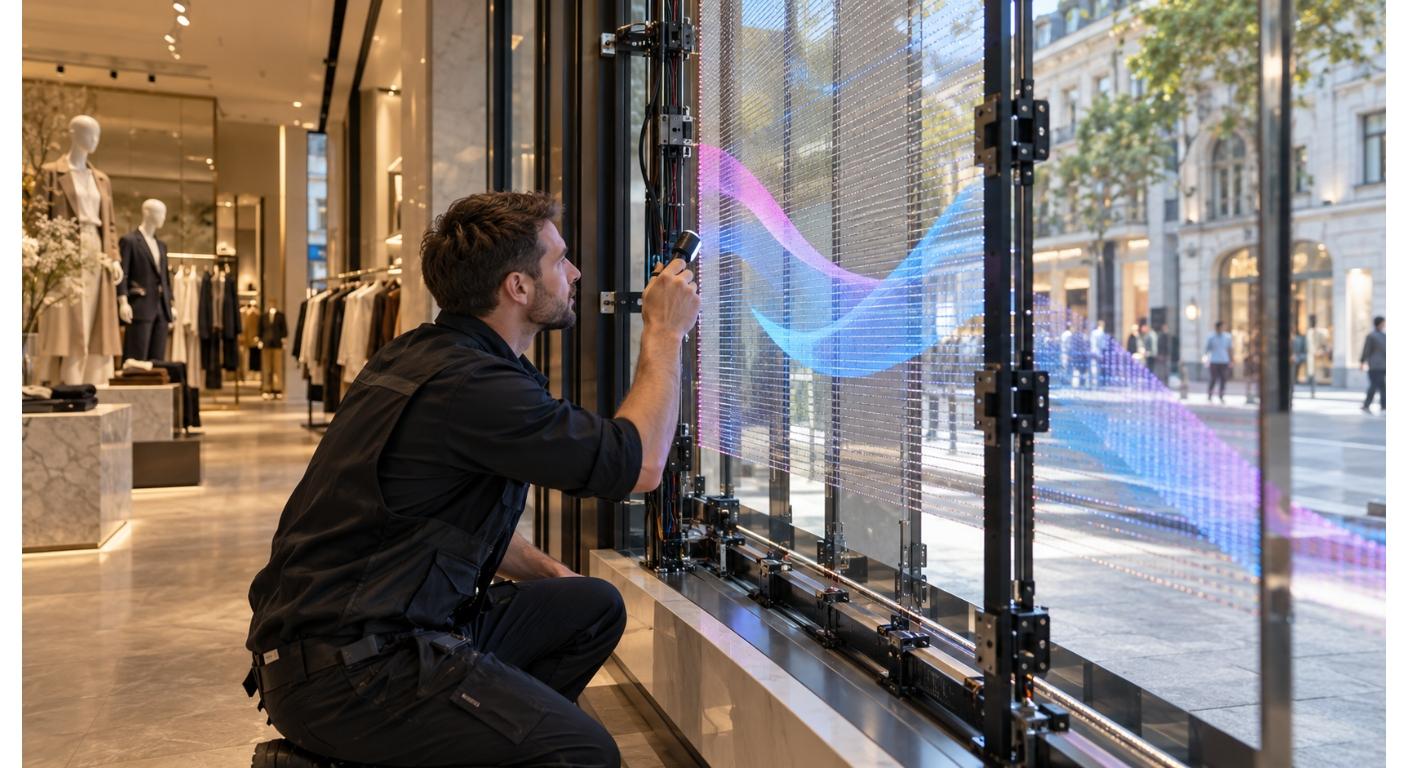
How to Choose a Shop Window Transparent LED Display for Retail Stores
October 29, 2026
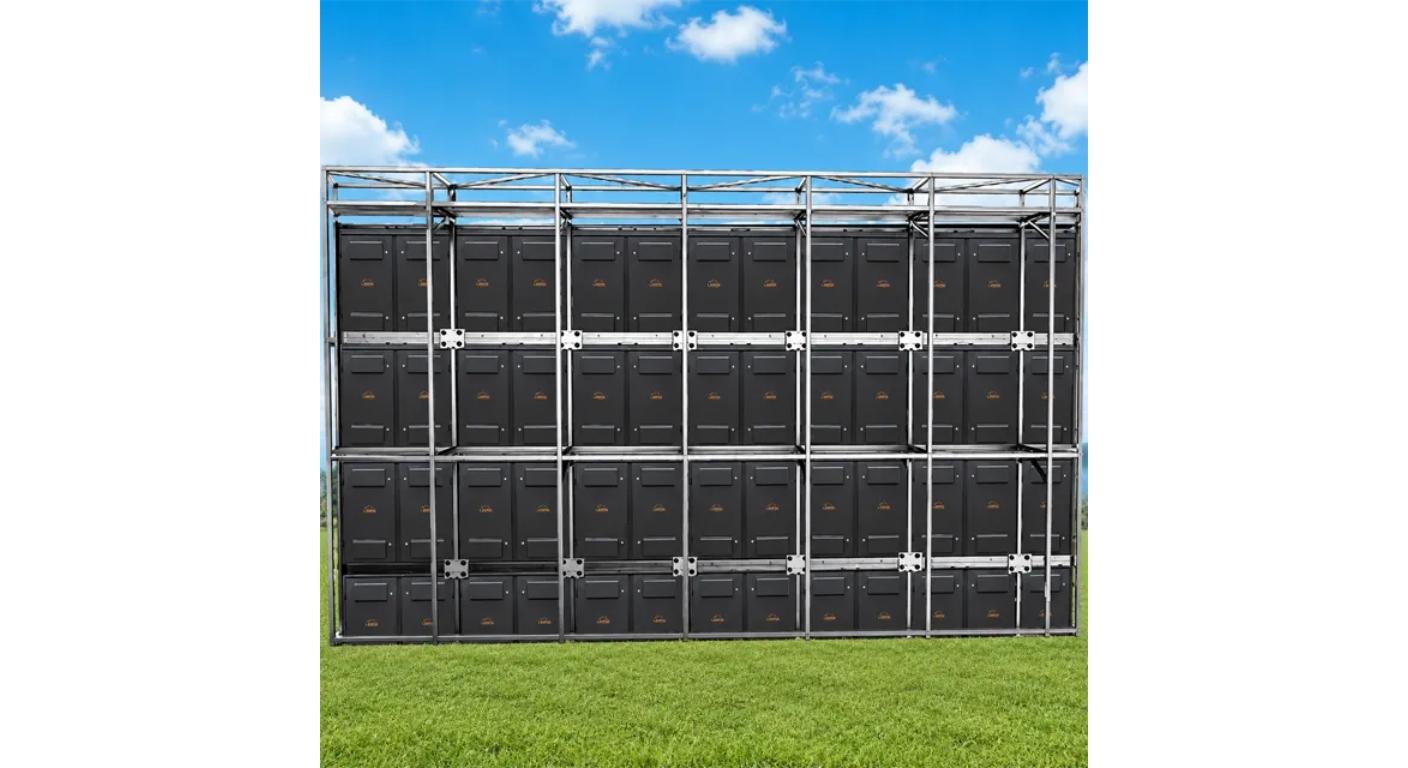
Iron vs. Aluminum Outdoor LED Display Cabinets: How to Choose
October 28, 2026
Do I need a cabinet size that will make it more convenient and useful to an installer to transform the wall they have into something they can effectively use? Of course, the primary concern for AV integrators, commercial interior contractors and buyers of displays is how does the cabinet realize the room, the content, and the installation conditions of MIC 320 × 640 mm indoor LED display.
This guide concentrates on this planning process. It assumes 320 × 640 mm to be the size of the product in the indoor area of MIC, and the details about the configuration are defined in the corresponding specification. The purpose is to come up with a proposal for the screen, which, will then be reviewed jointly with the client, content designer and installation team.
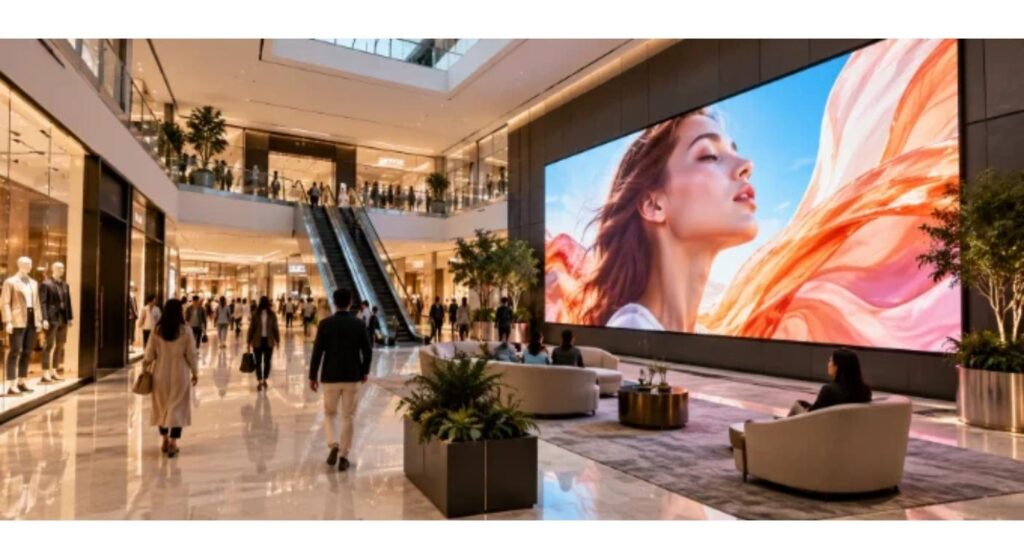
Inception With the Indoor Viewing Task
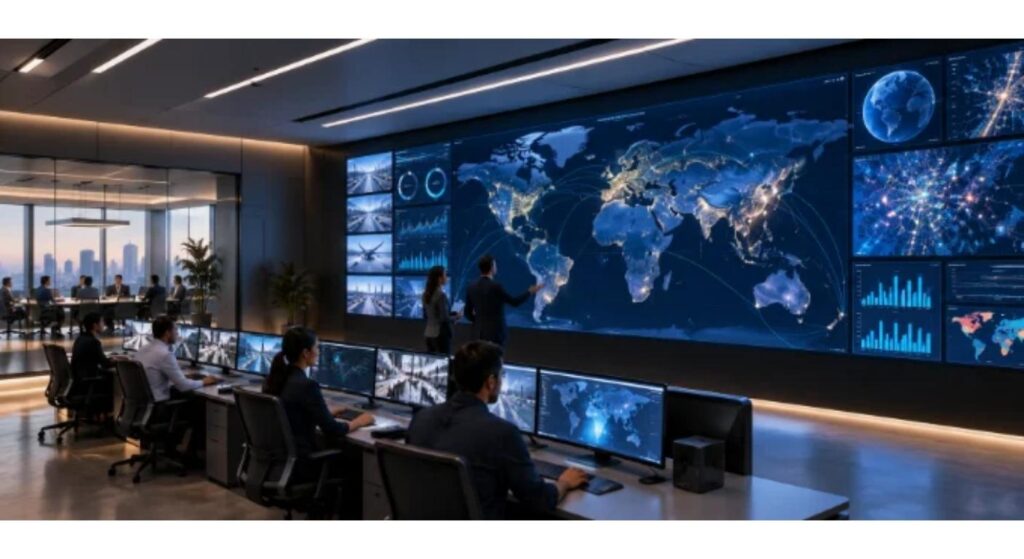
Don't count cabinets, figure out what people need to see. The presentation text might be the main concern when it comes to a need for a showroom, but product video might be the concern when it comes to a meeting space. When designing a retail display, you might be able to get your message across to people and passers-by as quickly as possible; simple visual hierarchy is more effective than too much text or information.
Note the closest regular view location, normal view orientation and ambient illumination. The screen that stands adjacent to a glass wall is exposed to different conditions than a screen in a prescribed meeting room setting. This indoor LED display range offers a good point of departure for talking about these environments, and specifying the range should take into account the end-use application.
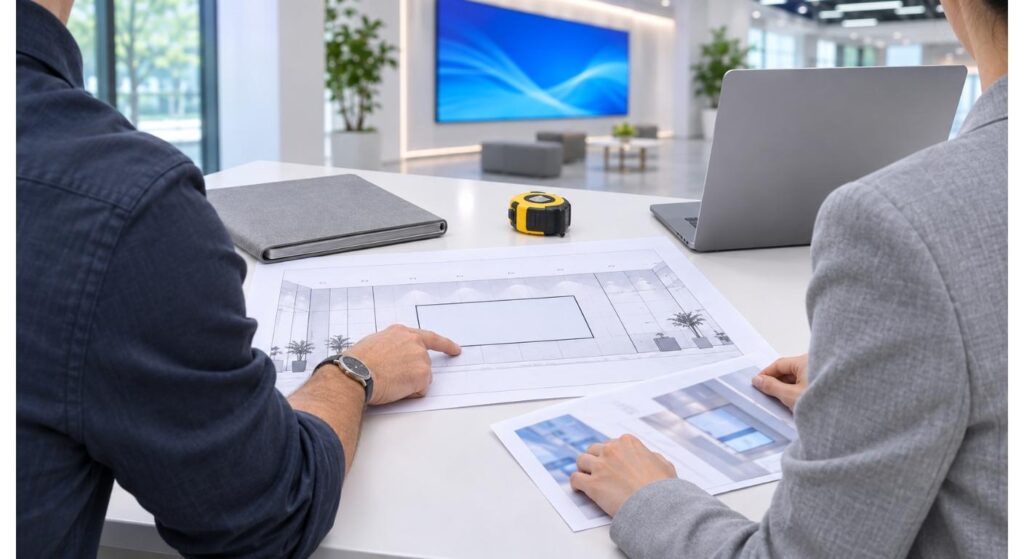
Convert Wall Opening to Cabinet Style.
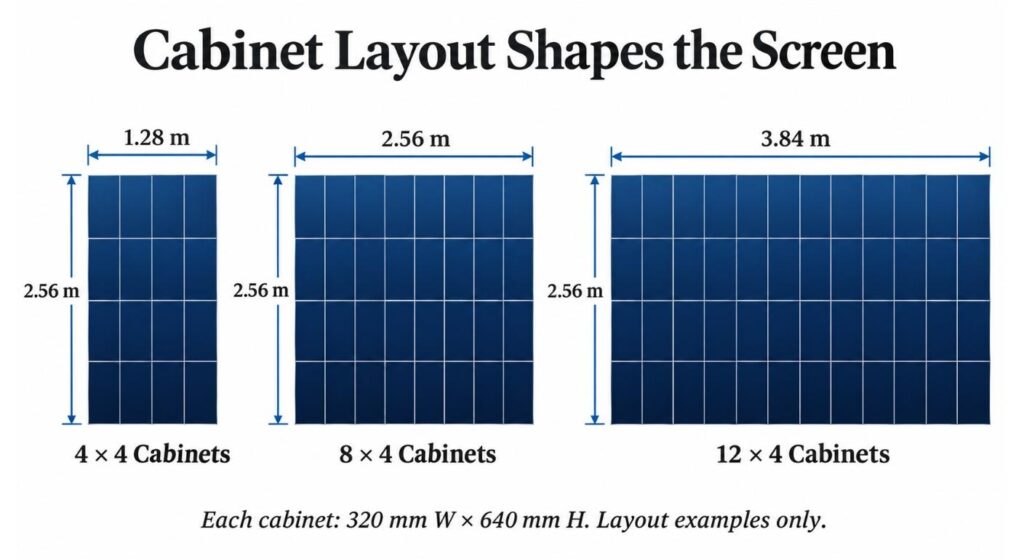
To calculate the values required in this instance each cabinet is assumed to have a width of 320 mm and a height of 640 mm in the approved orientation for installation. To get the nominal screen size, multiply those dimensions with the number of columns and rows of the cabinets. Always verify orientation of the product with the product drawing prior to releasing the installation plan.
Measure the "usable" opening, not the wall in the building. The available space can be decreased due to decorative trim, adjacent doorways, ceiling finishes and other nearby equipment. Similarly, the screen size of the LED surface is not the screen size of the entire structure, because it is necessary to be matched with the supporting structure and the cable access.
Before deciding on a layout, take time to look at two or three. It might be more appropriate to fit the interior or to better accommodate the existing content if the arrangement is slightly wider and/or shorter. But remember, the calculations don't include the idea that cabinets have to rotate or that all cabinets will be the same size, those options are dependent on the specific configuration.
| Columns × Rows | Cabinet Quantity | Nominal Screen Size | Aspect Ratio |
| 4 × 4 | 16 | 1.28 × 2.56 m | 1:2 |
| 8 × 4 | 32 | 2.56 × 2.56 m | 1:1 |
| 10 × 3 | 30 | 3.20 × 1.92 m | 5:3 |
| 12 × 4 | 48 | 3.84 × 2.56 m | 3:2 |
Content match Pixel Resolution.
The physical size of the picture is 320 × 640 mm and not the image resolution. The pixel resolution of Cabinet can be varied according to the pixel pitch and the arrangement of the module. Get the actualhorizontal/vertical micropixels from MIC, and find the complete canvas based on the given cabinet layout.
Simply try viewing typical content at that canvas size. The specifics of pricing text can reveal limitations that are not obvious in the case of a demonstration video, the glitz and glam of the video can take away. Have content team review the smallest critical text and content required on the screen.
The aspect ratio is important as well. Content for a tall install should be created for the dimensions of the install and not necessarily made to stretch landscape video. For indoor settings, Micheletti is able to provide commercial display solutions to give context to the artwork, which must be ready for the size of the agreed screen, in terms of both dimension and resolution.
Further set up who will be responsible for updating the content post-installation. To publish a regularly changing retail campaign, an agreed export format is required and the publishing process should be simple. Testing a presentation screen is required on the actual source(s) end users will use. I confirm these workflows early on so it doesn't lead to a difficult-to-use operation for the correctly assembled display in daily use.
Discuss installation depth and maintenance hand-in-hand.
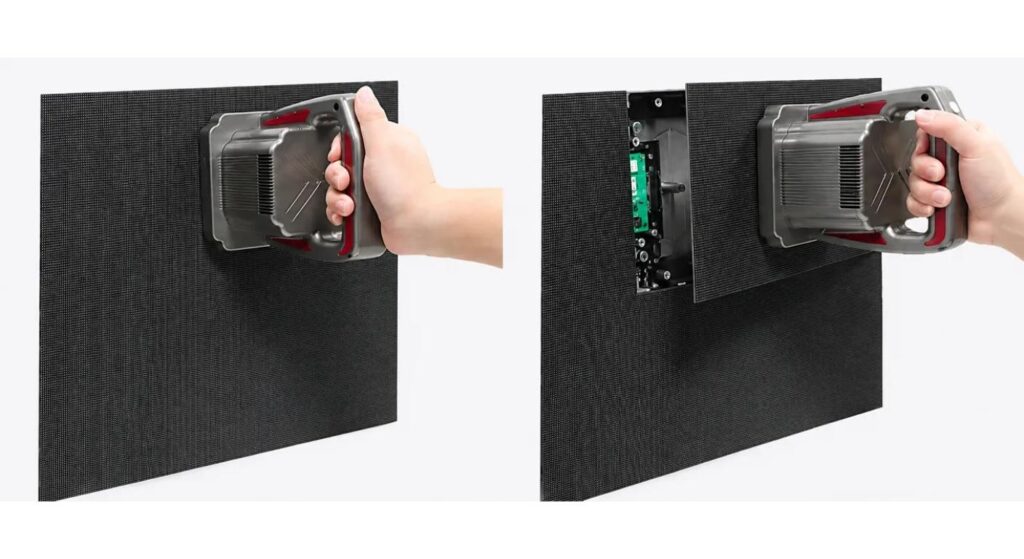
An attractive wall elevation does not provide the information about how the display will be installed and/or repaired. Look at one cabinet arrangement of the cabinet depth, supporting frame, cable space and service method. This is especially crucial when the screen is required to be placed near to an existing wall.
Check for parts that are accessible from the front, and those that need to be accessed from another way. In MIC's indoor display product spectrum, the front maintenance function is provided, and it is necessary to check the scope of the selected 320 × 640 mm configuration. Not all the components within a module must be accessible because of access to the module.
After the surrounding joinery is nearly complete, before do you make a power/ signal switch? Connectors must have access to a practical location and cables should be provided with their routing requirements. Using the approved product documentation, coordination with the responsible installation professionals should be made regarding electrical supply, ventilation and support structure.
Don't Assess Just One Cabinet - Assess an Assembled Screen
One cabinet may provide a good evaluation of construction but repeated units displaying collectively show how they function together. Check for inter-cabinet coherence, inter-facial coherence and normal viewing coherence of the image. Use not only text content, but also a uniform test image.
Test the screen in lighting conditions that are similar to the proposed application. What works well in a bright shop window can make for an uncomfortable office and what works well in a dark showroom can be inappropriate next to a light window. Talk about "Brightness" and the brightness to use in the room.
If the display is going to be recorded on camera on a regular basis, check the performance of the camera with representative equipment. Similarly, read and interpret the information in closely written text with the intended source and controller(s). Do not use specifications from another MIC series as evidence of the performance this cabinet will give in this configuration, but only use those of the configuration proposed and documented by the demonstration.
Note how much of the item is accepted prior to delivery. Determine content source, viewing position and illuminations to be utilized for commissioning. This provides a baseline for the buyer and installer to compare with the end product rather than based on different memories of a showroom demo or based on one of the possible images from a showroom demo that was circulated on promotion.
Construct a quotation that envelops the system as a whole.
There is a helpful quote linking the cabinet layout and the range of equipment and installations. Should specify the selected configuration, no. of cabinets, control equip., power requirements and agreed accessories. Explain if it will have supporting structures, if installation work and/or commissioning are performed or provided separately.
Submit the site measurements, viewing conditions and content requirements provided in a single package to MIC. Add the pictures and/or drawings of obstructions and the planned service route(s). These details help to make this a more productive discussion than asking for a price on just square metres/cabinet sizes.
Review the whole order brief with MIC's project consultation service. Reach an agreement for the use of ghosts; keep all the end drawings, configuration bookkeeping and content canvas info. These records are useful in maintaining the system and for the benefit of future teams to understand the system installed without having to recreate the specification.
Conclusion
The first step in the planning of LED displays indoors is to select a 320 × 640 mm LED display cabinet. There is a sweet spot when things get right: the cabinet design and the distance correspond to the size of the picture, access needs during installation and a comprehensive scope of supply are considered. After these has been recorded, MIC can discuss the configuration which is needed for the purpose at hand inside the home, and the installation team can refer to this configuration.
FAQs
Q1. I'm interested in a size for indoor display - is it available from MIC?
Yes. The indoor LED display cabinet provided by MIC has a size of 320 × 640 mm. Request the specification that includes the configuration you're interested in.
Q2. So, is the resolution related to the cabinet size?
No - Physical size vs Pixel resolution are different! The resolution depends on the choice of the pixel pitch and module arrangement.
Q3. Is the cabinet allowed to be rotated in the process of installation?
Only use the orientation which has been approved for the chosen configuration. Check mounting facilities, connections and service access prior to layout changes.
Q4. Does it offer inter-series connection with cabinets?
Expert compatibility for the exact products must be verified. Mechanical, electrical or control compatibility is not provided by similar dimensions.
Q5. What do I need to send in for a quaté?
Include screen size, screen distance, drawings and type of the site to be displayed on the screen. Include install conditions, maintenance required.


Contact Us
In This Article
Related Posts
How to Choose the Right Pixel Pitch Based on Viewing Distance
November 14, 2026
Corner Protection Rental LED Panel: Damage Prevention and Maintenance Guide
October 30, 2026
How to Choose a Shop Window Transparent LED Display for Retail Stores
October 29, 2026
Iron vs. Aluminum Outdoor LED Display Cabinets: How to Choose
October 28, 2026


