




Slim Outdoor LED Display Cabinet: An Installation Guide to MIC’s MC-PRO
By hqt
Oct 26, 2026Related Posts

How to Choose the Right Pixel Pitch Based on Viewing Distance
November 14, 2026
Corner Protection Rental LED Panel: Damage Prevention and Maintenance Guide
October 30, 2026
How to Choose a Shop Window Transparent LED Display for Retail Stores
October 29, 2026
Iron vs. Aluminum Outdoor LED Display Cabinets: How to Choose
October 28, 2026
The front side of a building can provide sufficient width and height for an LED screen, and allow for minimal space behind the screen. With these projects, depth of a cabinet is a design consideration, and choosing the shallowest cabinet does not necessarily answer all of the installation questions.
When contractors, AV integrators, or engineering buyers are evaluating a slim outdoor LED display cabinet, they should use a holistic approach to the evaluation. The starting point of MIC's MC-PRO is a published 88 mm cabinet profile (must be coordinated with mounting, wiring, cooling and maintenance requirements).
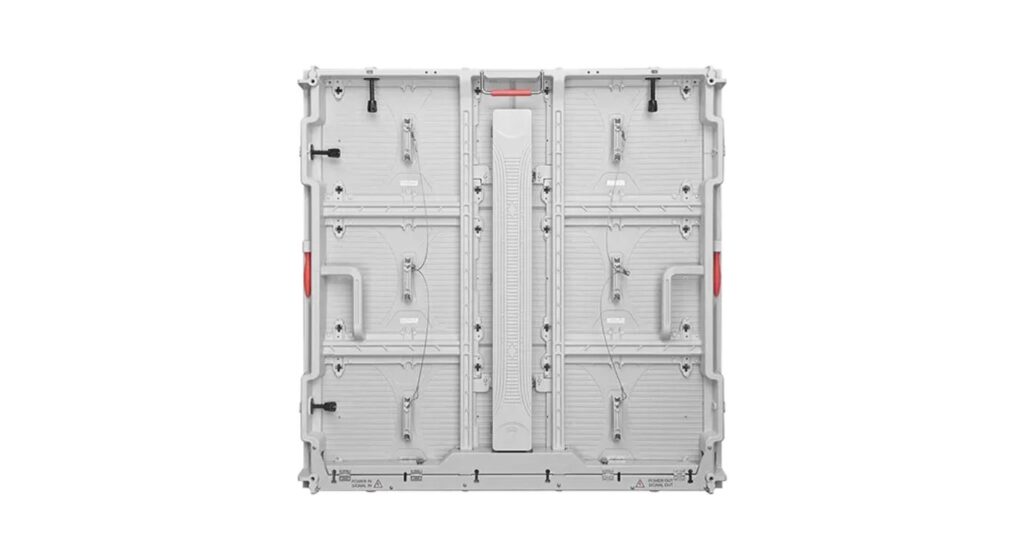
Associate Slim Profile with a particular product.
MIC has indicated the MC-PRO Outdoor Fixed LED Display on its website as having an 88 mm thick cabinet. It is a measurable dimension and therefore is a viable option when screen projection is of concern.
Slip should refer to the actual enclosure, however, and not mean that all installations can be installed against a wall. The necessary arrangement will depend on the cabinet you choose and how it connects.
Ask for a mechanical drawing with dimensions prior to approving the screen position. Check dimensions and surface orientation, and any protrusions for installation. If the model and drawing revision are included in the purchase specification, then the purchased product can be guaranteed to correspond to the supporting structure.
Installation Section – Create the section prior to the frame.
Begin at the building surface and move out to the display surface. The final projection is impacted by existing cladding, uneven walls, brackets, structural offsets, connectors and cables.
This does NOT mean an 88 mm installed assembly. A small recess might be suitable for the cabinet, but might not have enough space for a connector and/or for the cabinet to be moved in.
Make a cross section of the most constricted area prior to frame release for fabrication. Display local windows, ledges, trim and other obstructions. Determine a common measurement point (reference surface) for measurement so that the architect, fabricator and installer are calculating depth from the same point.
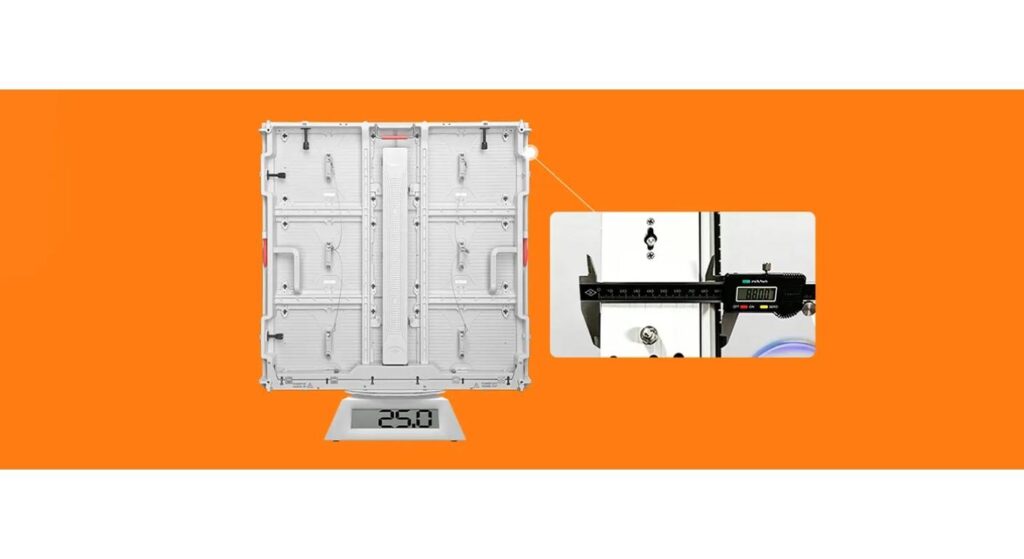
Explain the concepts of Maintenance by Component and Working Position
According to MIC, MC-PRO modules allow for both front and rear maintenance. This is a convenient feature when the back of the display is not easily accessible due to a facade.
Even though module access, access to power supplies, receiving cards, connection boards and cable terminations should be distinguished. Describe the installation as fully front serviceable, but confirm removal procedure for each component prior to describing removal.
It is also important how the technician is standing. Think about how personnel will gain access to the screen, how to deal with removed modules and how they will use the necessary tools. Accessible module is only practicable if there is adequate working room and an appropriate access route. Work out these arrangements before surrounding work is finished that makes it challenging to change them later.
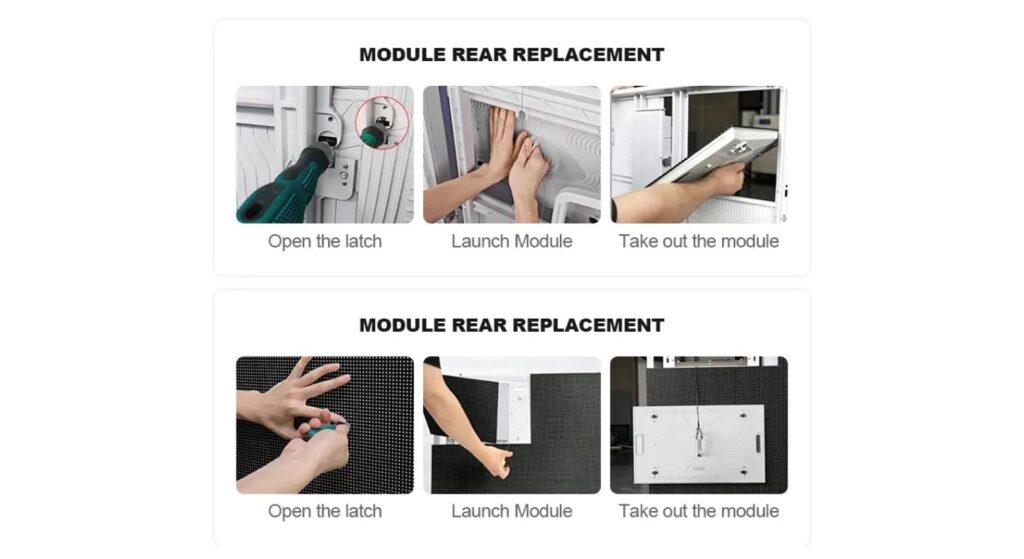
Review Cooling in the Finished Environment
Aluminium Modular Coolers, Cooling Fins, Breather Valves and Receiver-card Cooling Structures are described at the MC-PRO page. These are used as a starting point for thermal design discussions for a specific product.
The surrounding being installed has still to be evaluated. Operating conditions may be influenced by architectural covers, proximity to hot surfaces and exposure to the sun for extended periods of time, particularly if a screen is placed in a deep recess.
Inform the supplier of the local temperatures, daily hours of operation, proposed enclosure around the display and orientation. Ask for necessary clearances & operating limits. Decorative trim should be considered in conjunction with cooling and maintenance needs and not a retrofit to a technically approved arrangement. Don't consider a shallow cabinet to function in any enclosed area.
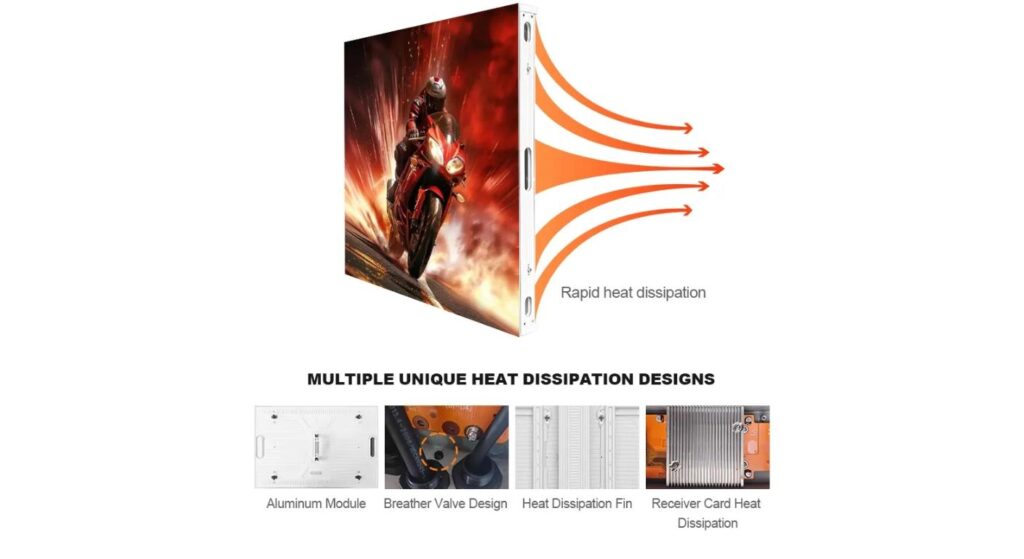
Work with building to Coordinate Weather Protection
IP66 protection as per MIC is published for MC-PRO both front and rear. For project detailing, it is necessary to take into account the connections and interfaces around the cabinet assembly.
Water can flow down the surface of facades, structural elements and cables. Look for potential areas of accumulation and drainage to junction boxes, cable entries and building penetrations. Discuss these things with the relevant (facade/electricial) contractor.
Determine cable runs prior to determining the support structure. Provide proper connector clearance, cable support and cable bending space with no wiring trapped behind cabinets. MIC's outdoor LED display series offers a wider set of references for selection, and the specific information for installation should be carried out according to the information of the selected configuration.
Find the capacity of loads that are greater than cabinet thickness.
Thin enclosure does not indicate the loads a building needs to support. The whole assembly consists of screen, supporting frame, attachment hardware and all other equipment required for installation.
The exposure to wind, the height of the structure, anchoring points, and the state of the structures to be installed, also play a role in the design. The necessary support and connections requirements should be determined by a qualified project engineer.
Verify loads through the cabinets to the frame and then to the building. Adjust for alignment – don't force cabinets against uneven supports. Retain a practical inspection route where covers are provided to cover attachments. These should be made prior to fabrication when changes are more easily made throughout the project team.
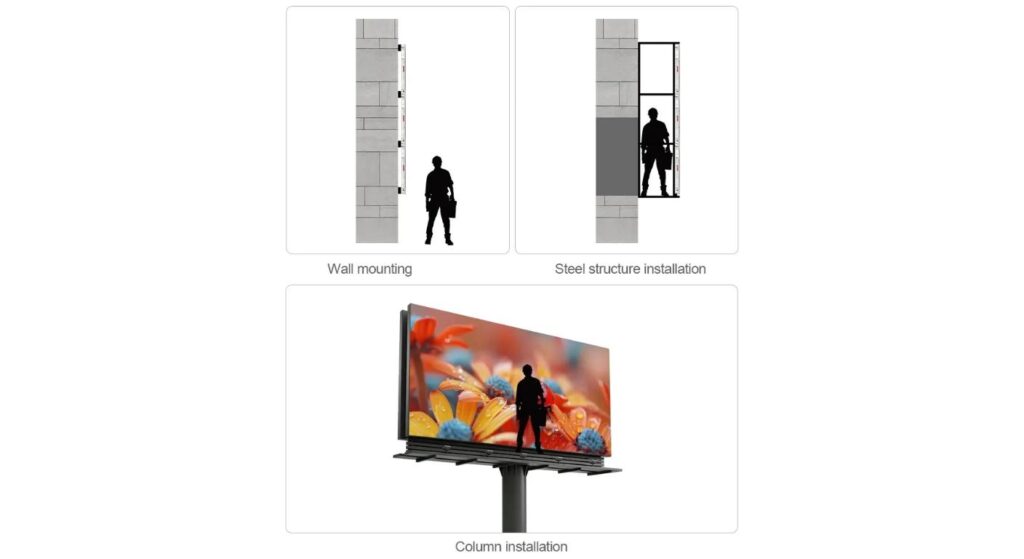
Match number 1, 2 and 3 in the Cabinet Layout to the Viewing Task
The mechanical fit of a cabinet may achieve a poor screen proportion. Determine the display size, viewing distance and priorities of the content before you confirm the cabinet arrangement.
Advertising messages of a few seconds on-screen, on a road, require a different mix to information that is viewed near an entrance. It is important to consider the pixel pitch for the actual task that is to be viewed and not to simply go with the best available.
Check the screen outline with respect to windows, corners, facade joints and normal approach paths. Don't assume that different series are the same size or have the same maintenance needs; compare MIC's outdoor advertising LED displays if another configuration might be better suited for the project.
Use the Quotation Resolve Installation Questions to answer questions about the installation of the quotation.
A helpful inquiry clarifies the site like much as the wanted screen size. Provide measured drawings, pictures, depth and access restrictions and proposed power and data routes.
Inquire the supplier to specify the configuration of the cabinets and give installation data corresponding to the configuration. Before price shopping, write down any open-ended questions regarding the access to the components, cable connections and mounting interfaces.
Use MIC's project consultation page to submit these details to assist with configuration discussions. In the final approval package the chosen product must be linked to the structural drawings, installation section, electrical layout and maintenance plan. A coordinated package ensures a single point of reference for the procurement and installation team from delivery to assembly.
| Document | Prepared By | Reviewed By |
| Site measurement record | Site survey team | Project coordinator |
| Cabinet assembly drawing | Display supplier | AV integrator |
| Frame and anchoring design | Structural designer | Responsible engineer |
| Power and data layout | Electrical contractor | AV integrator |
| Maintenance access plan | Installation team | Facility operator |
Conclusion
A thin outdoor LED display cabinet can be helpful when its confirmed size is a real difficulty with your installation. The profile of the MC-PRO is 88 mm, and the appropriateness of the surrounding structure and servicing arrangements are the key to determining its practical suitability.
Check entire assembly before ordering. With a small cabinet, coordination of depth, cooling, wiring, loads, and easy access to components are all necessary to make it a usable outdoor display installation.
FAQs
Q1. What is the outdoor display with a confirmed slim cabinet profile that MIC has?
Please check the cabinet thickness according to the Mechanical Drawing of the selected version (MC-PRO Outdoor Fixed LED Display): Cabinet thickness is 88mm.
Q2. Is the overall depth of the installation also 88 mm?
No. Brackets, structural offsets, connectors and necessary clearances add to the overall depth of the complete installation.
Q3. Is there front maintenance for MC-PRO?
The website states that both front and rear modules are maintained. Access to the other components should be checked on a case-by-case basis.
Q4. Is it possible to install a slim cabinet without a back service passage?
This will be based on the agreed servicing schedule. The requirements for component removal, connections and cooling must all be taken into account.
Q5. Which of the following should be included with a quotation request?
Include screen size, photos of the location, depth available, viewing distance and access limitations. Provide suggested mounting/electrical details, if available.


Contact Us
In This Article
Related Posts
How to Choose the Right Pixel Pitch Based on Viewing Distance
November 14, 2026
Corner Protection Rental LED Panel: Damage Prevention and Maintenance Guide
October 30, 2026
How to Choose a Shop Window Transparent LED Display for Retail Stores
October 29, 2026
Iron vs. Aluminum Outdoor LED Display Cabinets: How to Choose
October 28, 2026


